Running DeepFellow on AWS
Benefits
You can start working with DeepFellow by renting machines on Amazon Web Services (AWS) within a VPC you configure — no need to own your infrastructure. This gives you:
- Data privacy: your data stays within your rented machines and is never sent to external AI providers
- Regional control: by selecting your AWS region, you decide under which jurisdiction your data is processed
- Instant scaling: thanks to the AWS ecosystem, you can easily run multiple instances of DeepFellow in minutes
- Reproducibility: anyone with access to the same Amazon Machine Image (AMI) can reproduce your setup instantly
- Cost control: you only pay for AWS instance runtime, with no additional per-query fees
Installation
Configuring an Instance
-
Search for DeepFellow Infra on AWS Marketplace.
-
Click "View purchase options". You may be redirected to login page if you are not logged in.
-
You will see the following view:

-
Scroll down and click "Download EULA(s)" to read DeepFellow Free License.
-
Click "Subscribe". After a while, you will see the success notification.
-
Click "Launch your software". You will be redirected to the Launch Setup view.

-
We recommend selecting "One-click" launch option. Select the desired region and the rest of parameters to suit your needs.
-
Important: Select proper Security group, or create one by clicking "Create security group":

-
In "Key pair" section select your SSH key to secure only authorized access to your instance.
You can also install DeepFellow Server on AWS.
First Launch

-
Click "Launch" button. You will see a green success prompt with your instance ID.
-
Log in to your DeepFellow Infra instance via SSH:
ssh deepfellow@your-ec2-instance-ip
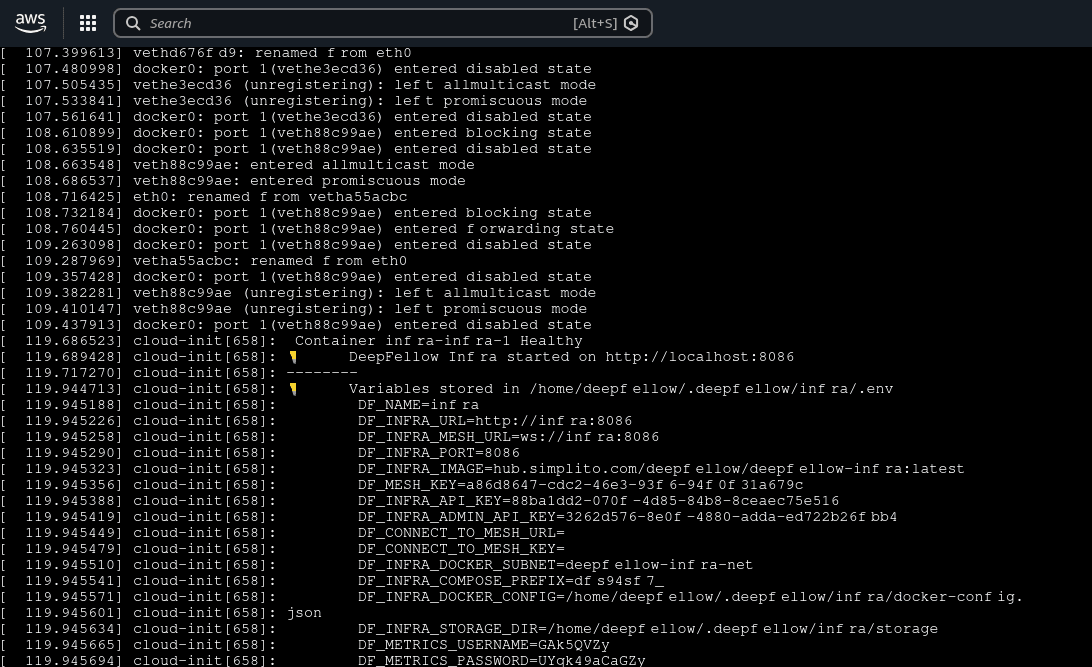
- DeepFellow Infra has already started. Copy the value of
DF_INFRA_ADMIN_KEY. - Open your browser and enter IP of your DeepFellow Infra instance to open DeepFellow Infra Web Panel.
- Enter the copied
DF_INFRA_ADMIN_KEYvalue in the pop-up window. From now on, you can manage all your models.
You can launch DeepFellow Server and manage it via SSH in a similar manner. After launching its instance DeepFellow Server will start automatically. After it starts, you can administer it, for example by creating an Admin Account.
Configure SSL
Requirements:
- You need to add an A-type record in your DNS provider administration panel. Example DNS record:
infra-aws-01 IN A <YOUR EC2 INSTANCE IP>- Make sure port 80 is open on your instance.
-
Login to your instance via SSH:
ssh deepfellow@your-ec2-instance-ip -
Look-up the SSL configuration script:
cat /home/deepfellow/deepfellow-nginx-letsencrypt.sh -
Run the script from your home directory and follow the instructions:
deepfellow@ec2-instance:~# sudo ./deepfellow-nginx-letsencrypt.sh infra.your-domain.com
➡ Your domain: infra.your-domain.com
🔍 Validate nginx config...
nginx: the configuration file /etc/nginx/nginx.conf syntax is ok
nginx: configuration file /etc/nginx/nginx.conf test is successful
Saving debug log to /var/log/letsencrypt/letsencrypt.log
Enter email address or hit Enter to skip.
(Enter 'c' to cancel):

---

Please read the Terms of Service at:
https://letsencrypt.org/documents/LE-SA-v1.6-August-18-2025.pdf
You must agree in order to register with the ACME server. Do you agree?

---

(Y)es/(N)o: Y
Account registered.
Requesting a certificate for infra.your-domain.com

Successfully received certificate.
Certificate is saved at: /etc/letsencrypt/live/infra.your-domain.com/fullchain.pem
Key is saved at: /etc/letsencrypt/live/infra.your-domain.com/privkey.pem
This certificate expires on 2026-05-20.
These files will be updated when the certificate renews.

Deploying certificate
Successfully deployed certificate for infra.your-domain.com to /etc/nginx/sites-enabled/deepfellow-infra.conf
Congratulations! You have successfully enabled HTTPS on https://infra.your-domain.com

NEXT STEPS:

- The certificate will need to be renewed before it expires. Certbot can automatically renew the certificate in the background, but you may need to take steps to enable that functionality. See https://certbot.org/renewal-setup for instructions.

---

If you like Certbot, please consider supporting our work by:

- Donating to ISRG / Let's Encrypt: https://letsencrypt.org/donate
- Donating to EFF: https://eff.org/donate-le

---

✅ DeepFellow Infra is available at: https://infra.your-domain.com
If port 80 is open, the script will succeed. After navigating to your certified domain it should open DeepFellow Infra Web Panel.
Configuring SSL for DeepFellow Server is analogous – log in and run the /home/deepfellow/deepfellow-nginx-letsencrypt.sh script.
Test Connection
See Quickstart to make your first request to DeepFellow.
Administration
After logging into your instance, you can:
Uninstall

- Go to EC2 administration panel and click Instances.
- Select the desired instance from the table to open its administrative panel.
- Click "Instance state" button on the right and then "Terminate (delete) instance" button. Within a few minutes, your instance will be deleted.
If you no longer want to use DeepFellow on AWS, remember to cancel the agreement in "Manage Subscriptions" section of AWS Marketplace.
We use cookies on our website. We use them to ensure proper functioning of the site and, if you agree, for purposes such as analytics, marketing, and targeting ads.